
Renovation projects generate massive amounts of debris, and managing it poorly wastes time and money. We at Dumpster Solutions NW know that renovation debris tips make the difference between a chaotic cleanup and a streamlined process.
The right strategy keeps your project on track and protects your wallet. This guide walks you through categorizing materials, planning your removal timeline, and following local disposal rules.
Categorizing Your Renovation Debris
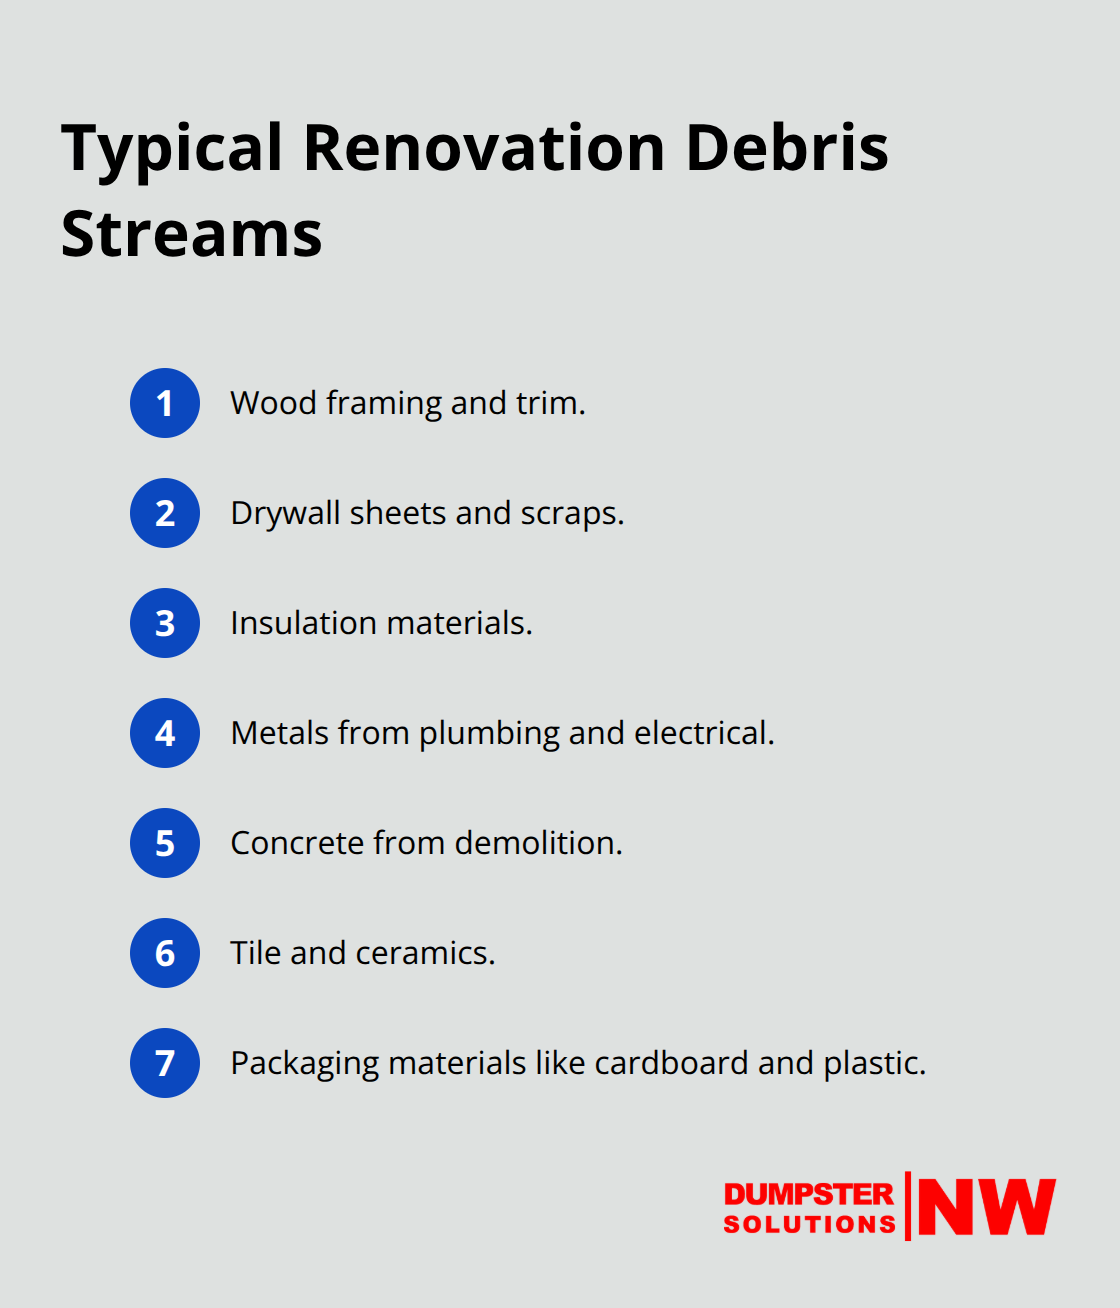
Sorting renovation debris immediately saves money and prevents project delays. Most renovations produce five to seven distinct waste streams: wood framing, drywall, insulation, metals, concrete, tile, and packaging materials. Separating these materials as you work means you pay only for what you actually need to haul away, rather than overfilling a generic dumpster.
Recyclable Materials Hold Real Value
Metal scraps from plumbing, electrical work, and appliances have real resale value at recycling centers, often offsetting disposal costs. Drywall can be recycled at most recycling centers, as well as at curbside pickup programs in many areas. Cardboard packaging from new materials takes up enormous space-often 30 to 40 percent of total renovation waste-and you should flatten and stack it to reduce volume. Wood trim, doors, and flooring that remain intact can go to local nonprofits like Habitat for Humanity ReStore locations throughout the Seattle and Puget Sound region, which accept quality materials gladly. Assign one corner of your workspace as a sorting station where workers immediately separate materials into labeled containers.
Hazardous Materials Demand Professional Handling
Renovation debris contains dangerous materials that cannot go into standard dumpsters. Lead-based paint, asbestos insulation, and old roofing materials require professional testing and removal-never attempt this yourself. Broken glass, nails, and sharp metal edges cause serious injuries if mixed into general waste. Fluorescent bulbs and ballasts contain mercury and need disposal at separate facilities; most Washington State counties have designated hazmat drop-off locations. Old appliances with refrigerants need certified technicians to extract and dispose of refrigerants properly before recycling the metal shell. Contact your local county solid waste facility to identify approved disposal methods for specific materials when in doubt.
Container Selection Depends on Weight and Volume
Heavy debris like concrete, brick, and dirt fills a 10-yard dumpster quickly due to weight limits (typically 2 to 3 tons per container). A 20-yard dumpster works better for large kitchen or bathroom remodels where volume matters more than weight. Bulky items like old cabinets, fixtures, and appliances need vertical space, making a taller 30-yard container more efficient than multiple smaller ones. Drywall and framing waste are lighter but voluminous, so a 15-yard dumpster often handles bathroom renovations while kitchens typically need 20 yards. Planning your container size upfront prevents mid-project scrambles and keeps debris from piling up on floors and blocking work areas, which slows progress and creates safety hazards. A quick quote helps you choose accurately based on your specific project scope and debris type.
With your debris sorted and container size determined, the next step focuses on building a removal timeline that keeps your workspace clear and your project moving forward without interruption.
How to Plan Your Debris Removal Timeline
Start Your Dumpster Delivery Before Work Begins
Timing your debris removal makes the difference between a smooth project and a chaotic one. Most homeowners underestimate how quickly debris accumulates during renovations, leading to workspace clutter that slows progress and creates safety hazards. Schedule your first dumpster delivery for the day before work starts, not after you’ve already generated piles of waste. This prevents debris from sitting on floors and blocking pathways while crews actively work. An optimized renovation dumpster schedule keeps your project site clean and organized, ensuring a smooth construction process without delays or extra costs.
Match Your Removal Schedule to Project Duration
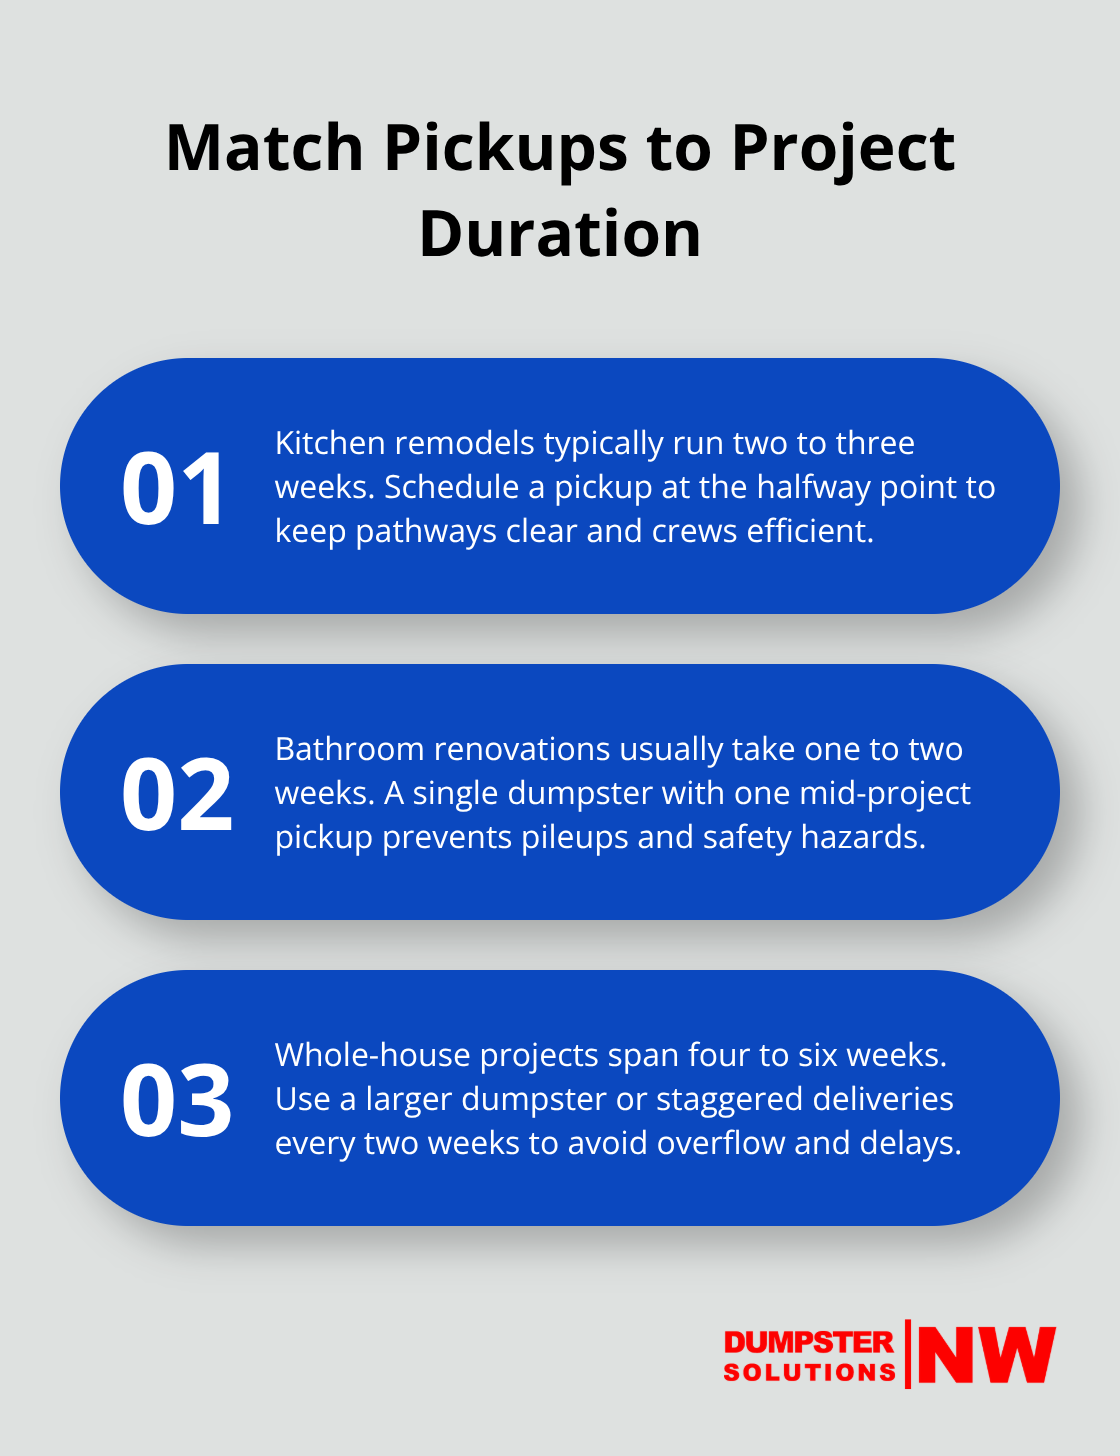
For a typical kitchen remodel lasting two to three weeks, schedule a pickup halfway through the project rather than waiting until completion-this keeps your workspace manageable and lets crews work without constantly stepping around piles. A bathroom renovation usually takes one to two weeks, so a single dumpster with a mid-project pickup works well. Larger whole-house remodels spanning four to six weeks benefit from either a larger dumpster or staggered deliveries every two weeks.
The weight-based pricing model means you pay for the weight limit included in your upfront rate, with additional fees only if you exceed it, so knowing your project timeline helps you avoid surprise overages.
Select the Right Dumpster Size for Your Debris Type
A 10-yard dumpster fits small bathroom remodels and garage cleanouts, holding roughly three pickup truckloads of material. Kitchen remodels typically require a 20-yard dumpster because they generate substantial volume from cabinetry, countertops, and appliances, while small kitchens might manage with 15 yards. Whole-house cleanouts benefit from a 20-yard dumpster for smaller homes or 30 yards for multi-generational homes with significant storage accumulation. The 30-yard option works best for major remodeling projects involving multiple rooms, while 40-yard dumpsters handle large construction sites and demolition work. Heavy debris like concrete or dirt requires careful sizing due to weight limits (typically 2 to 3 tons per container), so a 10-yard dumpster works better than a larger one for such materials.
Get a Quote to Confirm Your Size Selection
When in doubt, a quick quote helps you choose accurately based on your specific debris type and project scope, ensuring you pay only for what you need without mid-project scrambles or overflow problems that disrupt your workflow. Flexible scheduling options mean you can plan your project on your timeline, so you can schedule around your actual work schedule rather than forcing your project around limited delivery windows. With your removal timeline and dumpster size locked in, the next step focuses on following local regulations and partnering with responsible waste handlers to protect both your community and your project timeline.
Disposal Done Right
Washington State enforces strict solid waste regulations that affect every renovation project, and violations cost money and create legal headaches. According to the Washington State Department of Ecology solid waste regulations, counties must establish comprehensive solid waste plans that designate specific disposal sites and recycling requirements. Your county’s solid waste facility can tell you exactly which materials require special handling, where transfer stations operate, and what tipping fees apply based on weight or volume.
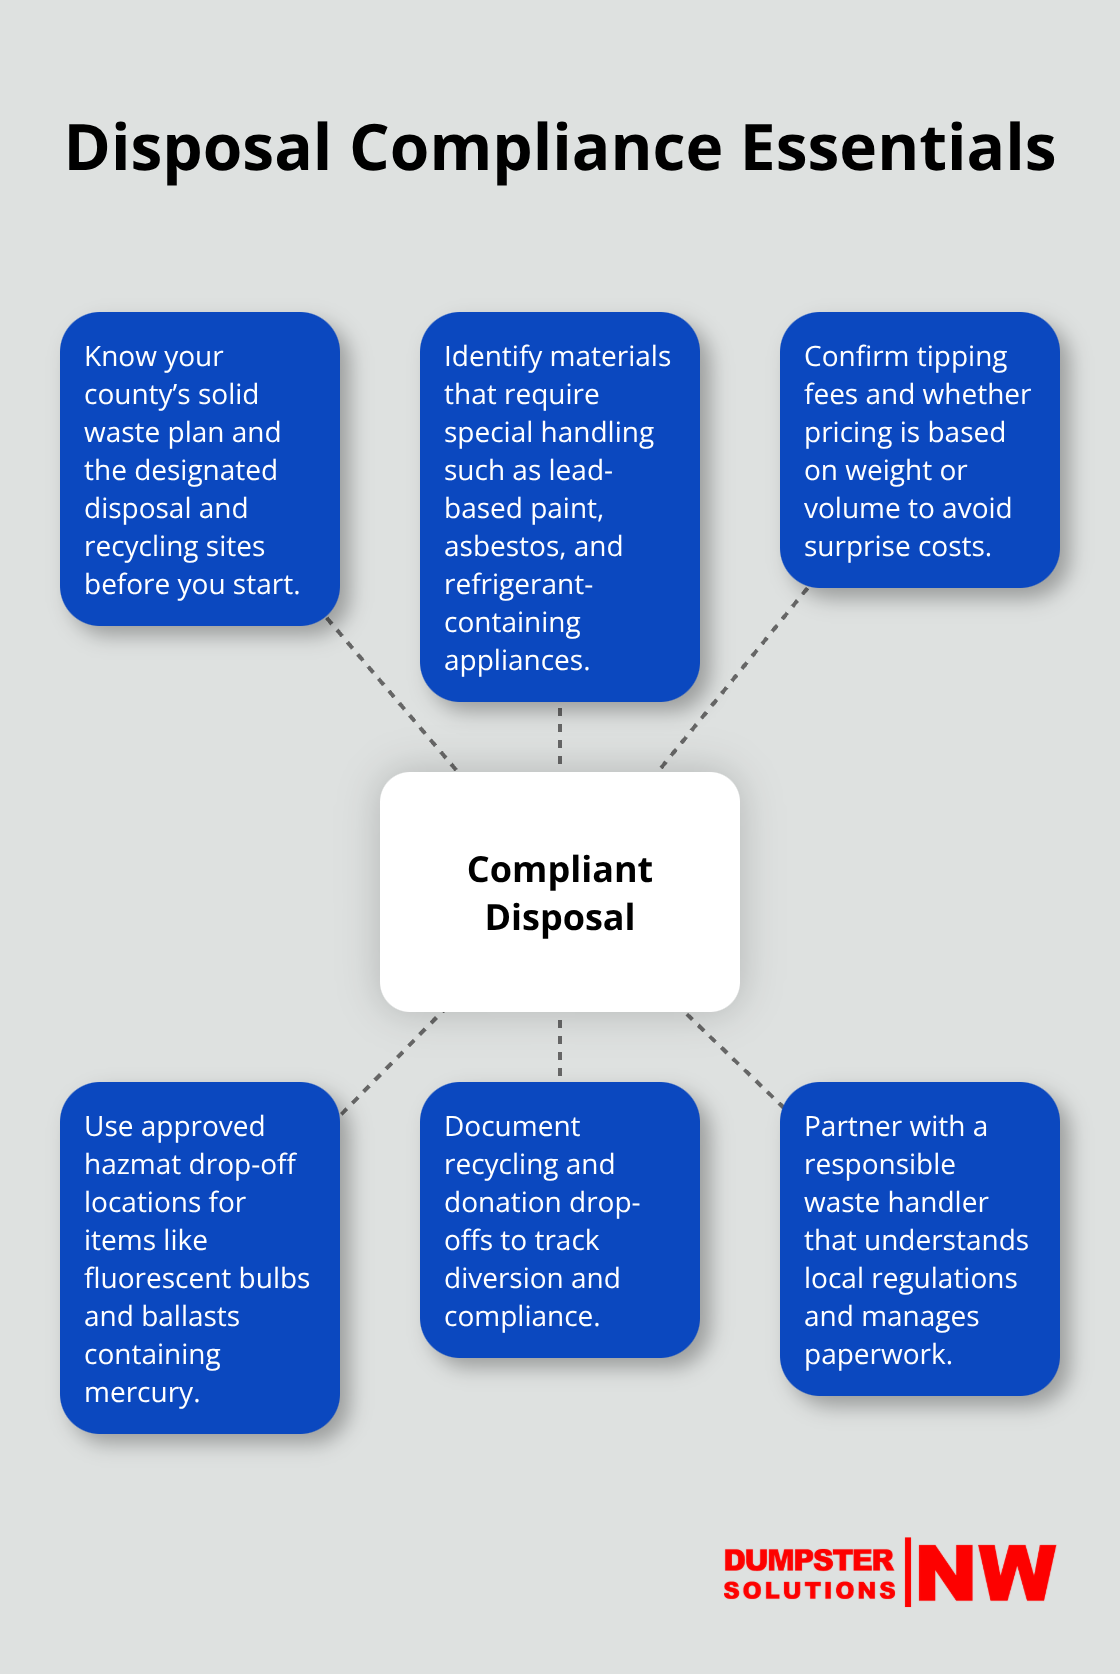
Lead-based paint, asbestos, and refrigerant-containing appliances cannot enter standard landfills, and violating these rules triggers penalties that far exceed proper disposal costs.
Know Your Local Regulations Before Work Starts
Contact your local county solid waste coordinator before your project starts to identify approved disposal methods for your specific debris types and confirm whether your project falls within a solid waste disposal district (district boundaries affect where you can legally haul materials). This step prevents costly mistakes and ensures compliance from day one. Most counties in the Seattle and Puget Sound region maintain updated lists of approved facilities, hazmat drop-off locations, and recycling centers on their websites, so you can plan your disposal strategy before debris accumulates on your property.
Maximize Recycling and Donation Opportunities
Habitat for Humanity ReStore locations throughout Washington eagerly accept quality doors, trim, flooring, and fixtures from your renovation, and they often provide pickup for larger loads. Local metal recyclers will haul away copper wiring, steel framing, and appliance shells at no cost to you, and some actually pay for high-grade metals like copper and aluminum. Drywall recycling centers accept separated drywall from most renovation projects, keeping this voluminous material out of landfills while supporting material recovery operations. Rather than guessing which materials qualify for recycling or donation, contact your local waste management service to learn which recyclers and nonprofits operate in your area and what they accept.
Partner With a Responsible Waste Handler
A reliable waste management service knows your local regulations, maintains relationships with recyclers and nonprofits, and handles the paperwork so you focus on finishing your project. This approach eliminates the guesswork, prevents costly mistakes, and ensures your renovation debris supports your community instead of sitting in a landfill for decades. We at Dumpster Solutions NW offer hassle-free dumpster rentals throughout the Seattle and Puget Sound region with transparent, flat-rate pricing and no hidden fees. Our range of sizes (10, 20, 30, and 40-yard dumpsters) accommodates any project, from a small garage cleanout to a large construction site, and we deliver on time, often the same or next day.
Final Thoughts
Renovation debris management doesn’t have to be complicated. The renovation debris tips covered in this guide boil down to three core actions: sort materials immediately, plan your removal timeline before work starts, and follow local regulations from day one. Sorting recyclables from hazardous waste saves money and keeps your workspace safe, while scheduling your dumpster delivery before demolition begins prevents debris from piling up and slowing your crews.
Professional dumpster rental removes the guesswork entirely. Instead of juggling multiple trips to the landfill, coordinating with recyclers, and tracking hazmat drop-off locations, you focus on finishing your renovation while a reliable service handles the rest. We at Dumpster Solutions NW deliver dumpsters on your timeline, often the same or next day, so your project never stalls waiting for equipment, and our transparent, flat-rate pricing means no surprise fees when your debris weighs more than expected.
Visit Dumpster Solutions NW to get a quote based on your project scope and debris type. Choose your dumpster size, schedule delivery for the day before work starts, and let us handle the hauling and responsible disposal. Your renovation will move faster, your workspace will stay cleaner, and your project will finish on time.
Disclaimer: The information provided in this blog is for general informational purposes only and does not constitute legal, financial, or insurance advice. Coverage options, terms, and availability may vary. Please consult with a licensed professional for advice specific to your situation