
Construction debris piles up fast during renovations, and without a proper plan, managing it becomes overwhelming. A construction debris dumpster takes that burden off your shoulders, letting you focus on the actual work instead of waste logistics.
We at Dumpster Solutions NW help property owners across Washington State handle renovation waste efficiently. This guide walks you through selecting the right dumpster size, loading it safely, and keeping your project on track.
What Materials Can Actually Go in Your Construction Dumpster
Heavy Materials That Fill Weight Capacity Fast
Construction debris comes in distinct categories, and knowing what belongs in your dumpster matters for both safety and cost. Concrete, masonry, and drywall represent the heaviest materials you’ll encounter during renovations. Concrete and brick fill a dumpster’s weight capacity long before you run out of physical space, so plan accordingly if your project involves foundation work or brick removal. Drywall, while lighter, takes up considerable volume and requires separation from other materials whenever possible because many recycling facilities accept it separately and some regions enforce specific drywall disposal requirements.
Wood, Roofing, and Salvageable Materials
Wood waste including framing lumber, flooring scraps, and roofing materials typically fits in a standard construction dumpster, though salvageable wood should go into a separate pile for reuse or donation to organizations like Habitat for Humanity ReStore rather than hauling it away. Roofing shingles and tile can enter your dumpster, but setting aside reusable doors, cabinets, fixtures, and hardware reduces waste and supports sustainable building practices. This approach lowers your disposal costs while keeping valuable materials out of landfills.
Metals and Scrap Materials Worth Recovering
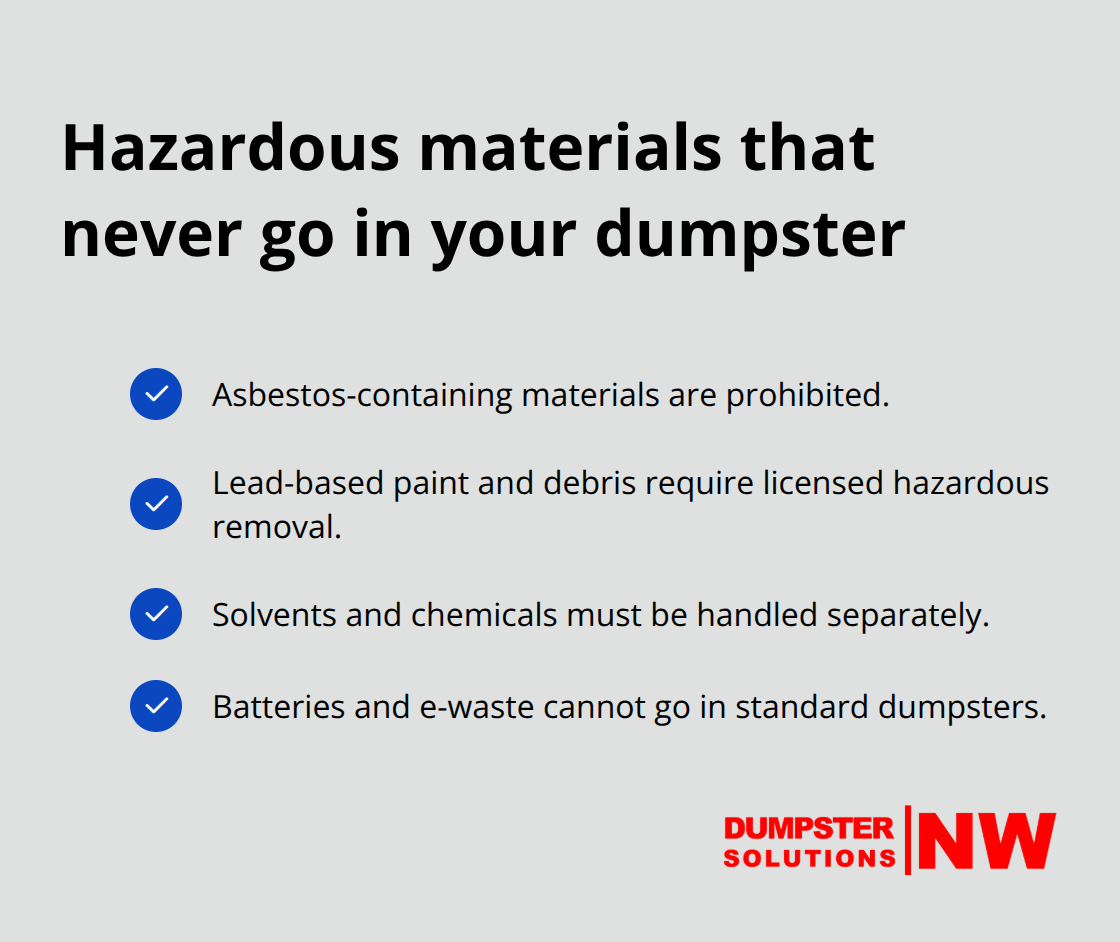
Metal fixtures, copper piping, aluminum trim, and steel beams hold real scrap value and require separation into their own pile so a recycler can recover them properly. Separating metals at the source prevents contamination and allows you to potentially offset some project costs through scrap recovery. Mixed demolition debris can go in your dumpster, but hazardous materials absolutely cannot-asbestos, lead paint, solvents, and batteries require licensed hazardous waste removal and must never enter a standard construction dumpster under any circumstances.
Strategic Separation Prevents Costly Problems
Material separation at the source improves recycling outcomes and reduces disposal costs. Heavy materials like concrete and masonry should occupy one container, wood another, and metals a third if your project budget allows for multiple dumpsters. This separation prevents contamination that renders entire loads unrecyclable and keeps you compliant with local disposal regulations that many Washington municipalities enforce strictly. Your project’s debris profile determines which dumpster size you’ll need and how many loads the hauler will require to clear it, so understanding what you’re actually throwing away upfront prevents surprise overage charges and project delays.
With your debris categories mapped out, selecting the right dumpster size becomes straightforward-and that’s where most property owners make their next critical decision.
What Size Dumpster Do You Actually Need
Match Your Dumpster to Your Debris Volume
Most property owners underestimate their debris volume and rent a dumpster that’s too small, forcing them to pay expensive overage fees or schedule a second pickup. The math is straightforward: a 10-yard dumpster holds roughly 4 pickup loads and works for small bathroom remodels or kitchen updates where you remove cabinets and fixtures but not structural materials. A 20-yard dumpster, holding 8 pickup loads, handles mid-size home renovations including flooring removal and wall demolition without concrete.
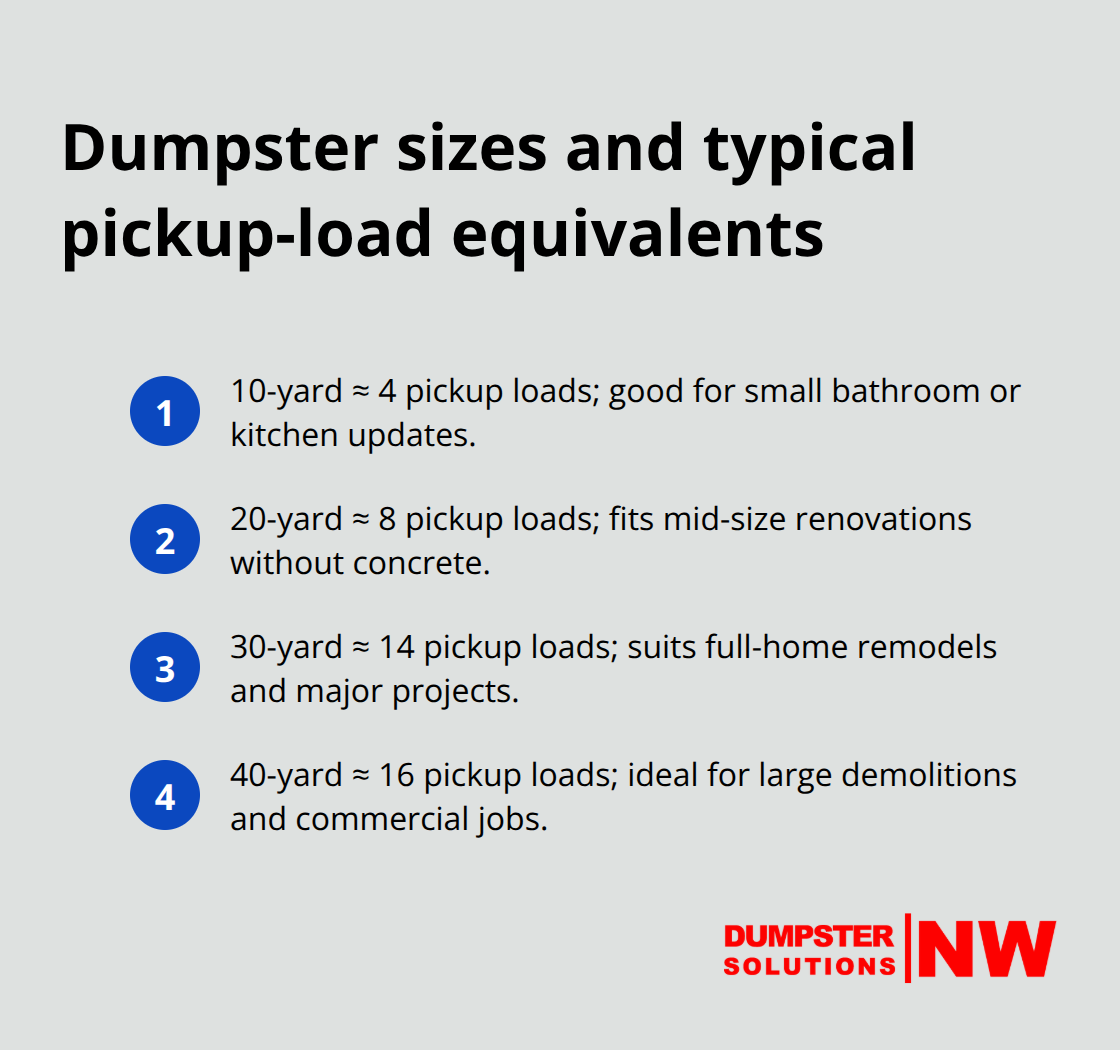
Jump to a 30-yard dumpster at 14 pickup loads, and you gain capacity for full-home renovations or major remodeling projects that generate serious volume. The 40-yard dumpster, holding 16 pickup loads, suits large construction demolitions and commercial-scale work.
Account for Weight Capacity, Not Just Volume
Here’s the critical factor most contractors miss: concrete and masonry materials consume debris weight capacity far faster than volume. A cubic yard of broken concrete weighs 2,025 pounds, so projects involving foundation removal, basement floors, or brick exteriors shrink your actual usable capacity dramatically compared to projects generating the same volume of framing lumber or drywall. Assess your specific debris mix before selecting a size. If you’re removing primarily concrete or tile, move up one size category from what you’d choose for a standard renovation. If your waste consists mainly of light framing and drywall, you can often stay with a smaller option.
Prevent Costly Overfilling Mistakes
The difference between a well-sized dumpster and an undersized one translates directly to project cost and schedule. Overfilling your dumpster triggers weight-based surcharges that typically range from $50 to $150 per ton of excess material, and a single overloaded 20-yard dumpster can easily cost an extra $300 to $500 in fees. Load heavy materials at the bottom of your dumpster and distribute weight evenly to prevent the container from tilting or becoming unsafe during transport. Never allow debris to pile above the rim, as this violates safety regulations and guarantees overage charges. Keep your dumpster covered during rainy weather to prevent water absorption that adds significant weight to your load.
Plan Your Delivery and Rental Timeline
Plan your delivery timing early in your project cycle so the dumpster arrives before demolition starts, allowing you to manage debris continuously rather than scrambling to find space for piles of material. A 7-day rental period covers most residential projects, but if your work extends beyond that timeline, extensions are typically affordable and straightforward to arrange. Dumpster Solutions NW delivers dumpsters the same day or next day across the Seattle and Puget Sound region, so if you do underestimate, you can arrange a second pickup without major project disruption.
With your dumpster size locked in and delivery scheduled, the real work begins-loading your debris safely and efficiently to maximize every cubic yard of space.
Best Practices for Loading and Managing Construction Waste
Place Heavy Materials at the Bottom
Heavy materials must occupy the lowest level of your dumpster-concrete, brick, and masonry settle naturally and distribute weight evenly when positioned first. Front-load your debris with these items before adding lighter framing lumber or drywall on top. This layering approach maximizes your weight capacity and keeps the load stable during transport. Concrete and brick create a solid foundation that prevents the dumpster from tilting or becoming top-heavy when the hauler lifts it onto the truck.
Organize Materials by Type as You Load
Separate metals immediately and set them aside-copper piping, aluminum trim, and steel components hold genuine scrap value that offsets disposal costs. Facilities reject mixed loads that contain metal contamination, so keeping metals isolated prevents sorting problems at the disposal facility. Drywall requires its own pile whenever possible since many recycling centers accept it separately and some Washington municipalities enforce specific drywall disposal rules that your hauler must follow. Mixing concrete with wood or metal creates contamination that renders entire loads unrecyclable and wastes your rental investment.
Maintain Safe Loading Practices Throughout Your Project
Wear heavy gloves and steel-toed boots when handling sharp materials like broken concrete, rebar, and metal scraps-puncture wounds and crushed feet happen quickly on job sites. Secure nails and sharp edges on wood scraps so they don’t protrude from the dumpster where they can injure workers or damage the hauling vehicle.
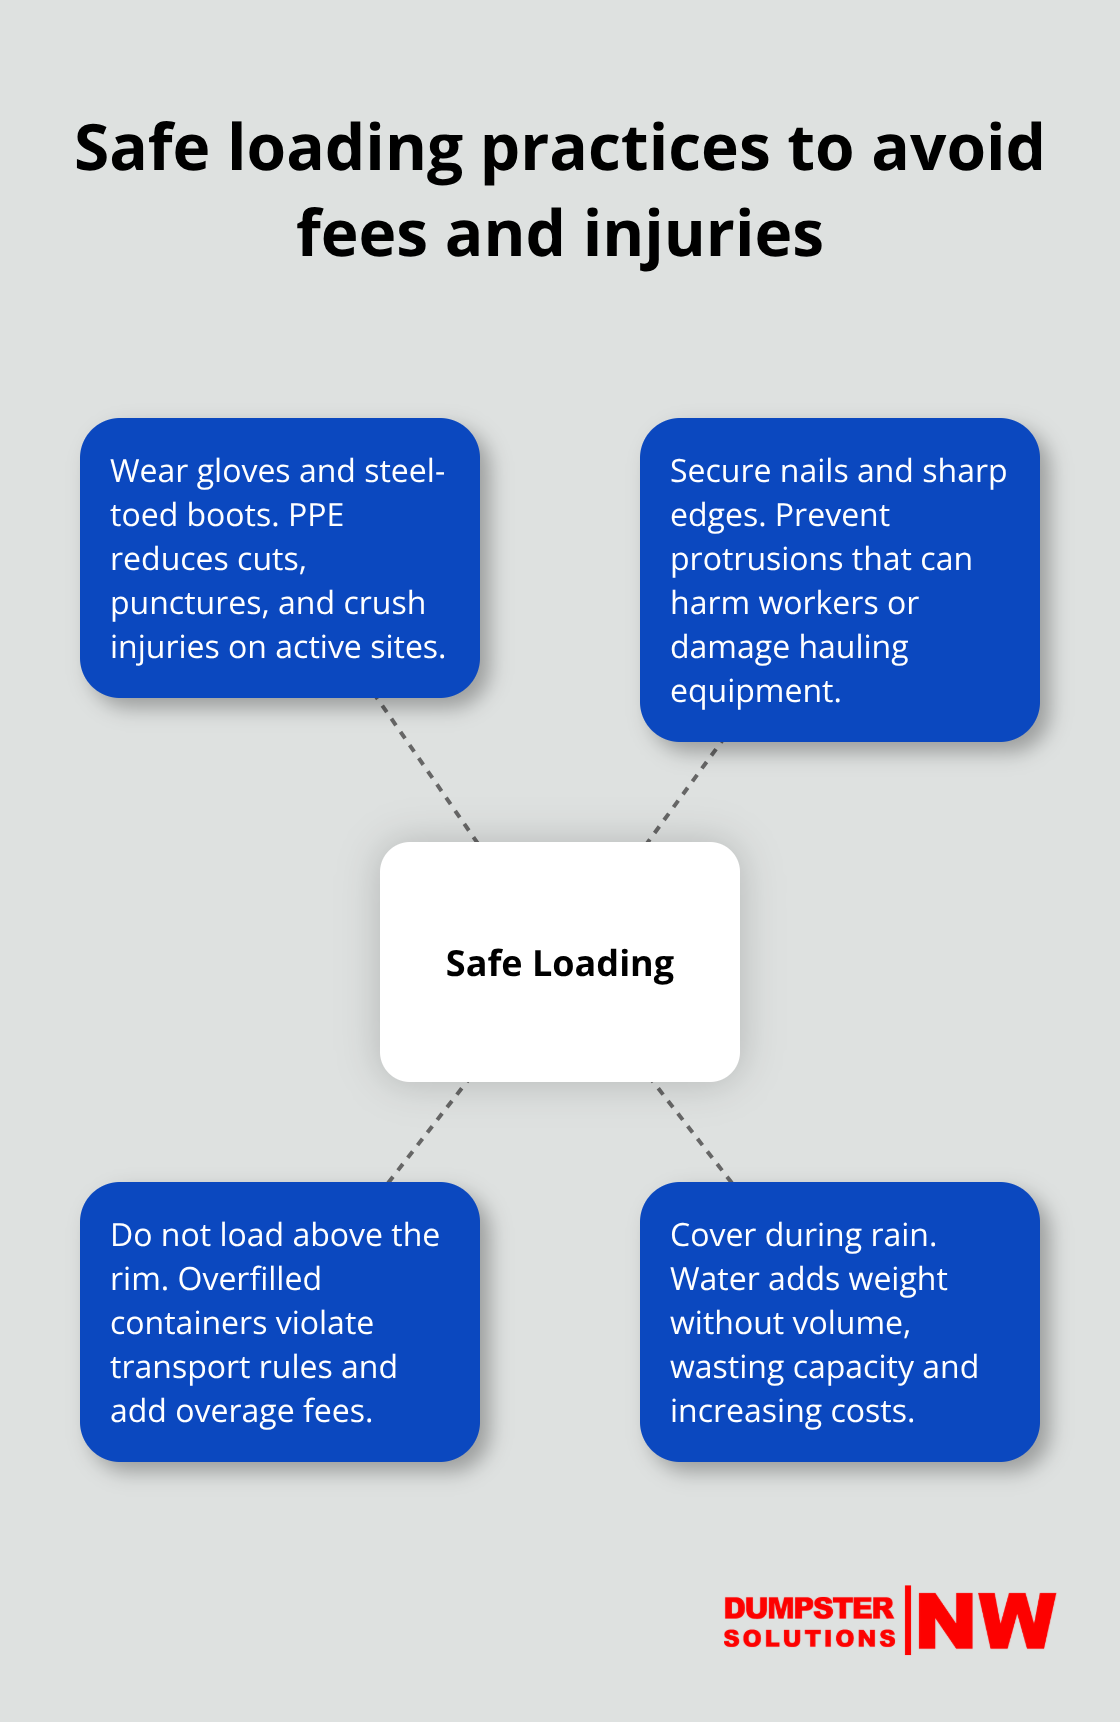
Never allow debris to pile above the rim of your dumpster, as this violates transport safety regulations and triggers overage charges. Keep your dumpster covered during rain to prevent water absorption that adds significant weight without adding volume, which wastes your capacity and creates unnecessary fees.
Distribute Weight Evenly Across the Container
Distribute weight across the dumpster’s entire floor rather than piling everything in one corner, which causes tilting and unsafe transport conditions. Load items evenly from side to side and front to back, treating your dumpster like a vehicle that needs balanced weight distribution. If you’re removing structural materials like beams or large sections of wall, break them down into smaller pieces that fit safely within the container rather than forcing oversized items that protrude or shift during transport. Uneven loading creates hazards for your crew and the hauling driver, so take time to position debris thoughtfully rather than rushing the process.
Final Thoughts
Managing construction debris doesn’t require guesswork or crossed fingers. You now understand what materials belong in your dumpster, how to size your container correctly, and how to load it safely without triggering overage charges. Separating materials by type from the start, matching your dumpster capacity to your actual waste volume, and distributing weight evenly throughout the container form the foundation of successful debris management.
Professional dumpster rental eliminates the logistics headache that derails most renovation projects. Instead of scrambling to find disposal solutions mid-project or renting undersized containers that force expensive second pickups, a construction debris dumpster handles everything systematically. We at Dumpster Solutions NW deliver dumpsters across the Seattle and Puget Sound region on the same or next day, so your project never stalls waiting for equipment, and our transparent, flat-rate pricing means no hidden fees appear when your load gets picked up.
Visit Dumpster Solutions NW to select your dumpster size based on your project scope, and we’ll handle delivery and responsible disposal while you focus on the actual renovation work. Our range of sizes from 10 to 40 yards accommodates everything from bathroom remodels to major demolitions. Your project deserves a partner who shows up on time and removes the waste management burden completely.
Disclaimer: The information provided in this blog is for general informational purposes only and does not constitute legal, financial, or insurance advice. Coverage options, terms, and availability may vary. Please consult with a licensed professional for advice specific to your situation