Renovation debris disposal is one of the biggest headaches homeowners face during construction projects. The waste piles up fast, and without a solid plan, you’ll end up with a cluttered site and unexpected costs.
At Dumpster Solutions NW, we’ve helped hundreds of Washington State residents tackle this challenge the right way. This guide walks you through smart strategies for managing construction waste from start to finish.
Why Proper Debris Disposal Actually Matters
The Scale of Construction Waste
Construction and demolition debris reached 600 million tons in the United States in 2018, more than twice the amount of municipal solid waste, according to the EPA. Demolition accounted for over 90 percent of that total, meaning most renovation projects contribute significantly to this waste stream. Here in Washington State, we face the same reality. Seattle recycled or composted materials amounting to nearly 400,000 tons last year, yet that material still ended up in landfills instead of being diverted to productive next-use markets. This matters because every ton of construction waste that doesn’t get recycled or reused represents wasted resources, unnecessary landfill space, and missed opportunities for local economies.
Treating Debris as a Commodity, Not Waste
The EPA’s Sustainable Materials Management approach treats construction debris as a commodity rather than waste, which means concrete, wood, metals, and other materials can be crushed for aggregate, transformed into new products, or salvaged for reuse in future projects. When you fail to sort and manage your renovation debris properly, you create a messy site and contribute to environmental degradation while forfeiting potential cost savings. Material recovery generates significant economic benefits and stimulates local economies.
Legal Compliance in Washington State
Washington State enforces strict regulations through the Department of Ecology and Seattle’s Solid Waste Utility, which means you cannot simply haul debris anywhere. Hazardous materials like asbestos, lead paint, and treated wood require licensed abatement under EPA rules, and mixing these with general debris creates legal liability that falls on you as the property owner, regardless of who performs the work. Proper separation and designation of waste streams before removal keeps you compliant and often reduces costs compared to treating all debris as mixed waste. The EPA’s Renovation, Repair, and Painting rule mandates specific protocols for lead disturbance, and failure to follow these rules can result in substantial fines.
Direct Impact on Your Project Budget
Efficient debris management directly impacts your project budget in measurable ways. Recycling and reusing materials cuts disposal costs, while on-site reuse of crushed concrete or asphalt as base material eliminates both disposal fees and material replacement costs. Choosing the right dumpster size, sorting materials into separate streams, and timing your waste removal prevents overfill charges and repositioning fees that can inflate your final bill by hundreds of dollars. These decisions separate projects that run smoothly from those that spiral into unexpected expenses.
How to Plan Your Debris Streams and Pick the Right Container
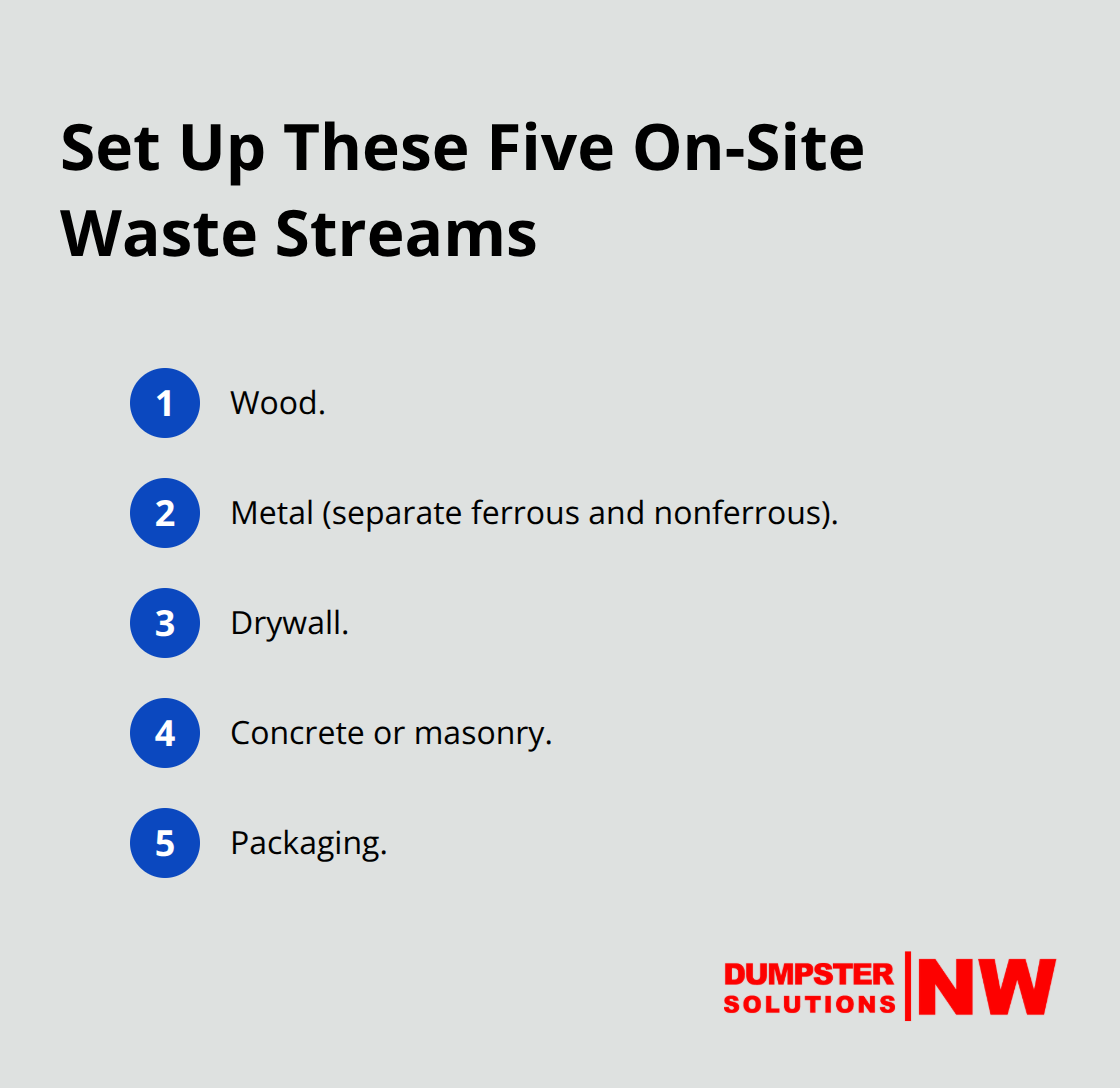
Establish Five Waste Streams on Your Site
Waste separation before debris lands in a dumpster separates projects that run on budget from those buried in unexpected fees. The moment demolition or renovation begins, you should establish five distinct waste streams on-site: wood, metal, drywall, concrete or masonry, and packaging.
Metal scrap alone holds real value and separating ferrous and nonferrous metals can generate rebates that offset disposal costs. Wood salvage matters too; precise cut lists during planning minimize waste generation in the first place, and leftover wood either goes to Habitat for Humanity ReStores for a tax deduction or transforms into engineered products or mulch. Drywall, concrete, and masonry each have dedicated recycling paths when sorted separately, but mixing them together contaminates the entire load and forces everything to the landfill.
Keep Streams Separate With Clear Labeling
You should use color-coded bins or clearly labeled containers on-site to keep streams separate and prevent cross-contamination. This single practice cuts your tipping fees dramatically because you’ll pay recycling rates instead of mixed-waste rates. Concrete and masonry rubble can often transform into crushed aggregate or base material for on-site use, which eliminates both disposal costs and the need to purchase new fill. Plan this separation strategy at project kickoff, not halfway through, or you’ll spend more time and money sorting contaminated loads than you would have spent planning upfront.
Match Container Size to Your Debris Type
Container size depends entirely on debris type and volume, not guesswork. A 10-yard dumpster works for small roofing projects and kitchen remodels, but weight limits matter more than volume for heavy materials like concrete or dirt. A 20-yard dumpster is the most popular choice for home cleanouts and moderate remodeling projects; kitchens typically need 10 to 15 yards, while bathrooms fall into the 10 to 15-yard range depending on scope. For landscaping and yard waste, a 15-yard dumpster handles most jobs, but extensive remodels or full demolitions require 30 or 40-yard containers. Bulky, less-dense items like furniture or insulation may need a larger dumpster than their volume suggests, while heavy debris like concrete or dirt demands a smaller container to stay within weight limits.
Schedule Removal to Prevent Site Clutter
You should schedule your dumpster delivery to arrive just before debris generation peaks, not weeks early, and arrange pickup before the container overfills. Overfill charges, repositioning fees, and extra trips add hundreds to your final bill. If the dumpster fills before the job finishes, you can use empty-and-return service or order a second container rather than piling debris outside. Delivery location matters as much as size-you should choose a spot with enough clearance, away from power lines and low-hanging branches, to avoid costly repositioning. At Dumpster Solutions NW, we deliver quickly (often on the same or next day) and handle the hauling and responsible disposal, so you can focus on your project rather than logistics.
Get Expert Sizing Recommendations
Contact us at 877-814-9748 or order online to get the right size recommendation for your specific project type and debris profile. With the right container in place and your waste streams organized, you’re ready to understand what happens to each material type and how hazardous waste requires special attention.
Where Your Renovation Debris Actually Goes
Recyclable Materials Hold Real Value
Wood, metal, and drywall from your renovation represent genuine value when you handle them correctly, yet most homeowners treat them as trash. Wood salvage must happen before demolition starts-precise cut lists during planning minimize waste generation upfront, and leftover lumber goes directly to Habitat for Humanity ReStores for a tax deduction or transforms into engineered wood products and mulch through local recyclers. Metal scrap carries resale value; separating ferrous metals like steel from nonferrous materials like copper and brass can generate rebates that offset your disposal costs entirely. Drywall recycling exists in most Washington State facilities, but only when the material stays clean and separate from concrete or masonry.
Contamination Destroys Entire Loads
The moment drywall mixes with other debris, the entire load becomes contaminated and heads to the landfill. Concrete and masonry rubble crushes into aggregate for on-site use as base material or subgrade fill, which eliminates both disposal fees and the need to purchase virgin resources. These three material streams-wood, metal, and drywall-account for the bulk of residential renovation waste, and separating them on-site using clearly labeled bins prevents contamination and cuts your tipping fees dramatically compared to mixed-waste rates.
Hazardous Materials Require Licensed Professionals
Hazardous materials demand completely different handling, and this is where legal liability falls squarely on you as the property owner. Asbestos in older buildings requires licensed professionals with proper containment and disposal protocols, and you must file EPA asbestos demolition notification at least ten working days before starting work. Lead dust during renovation must be controlled with containment measures under the EPA’s Renovation, Repair, and Painting rule, and mixing lead-contaminated materials with general debris creates serious legal exposure and contamination risk. Treated wood, paints, coatings, solvents, and roofing tars from new construction all qualify as dangerous waste and require proper designation and sampling before removal.
Testing and Designation Save Money
Washington State Ecology enforces strict rules about which waste streams need testing, and cost-effective approaches involve separating hazardous materials before demolition rather than treating everything as mixed waste. Contact a dangerous waste inspector in your region for guidance on designation and disposal-this step costs far less than mishandling materials and facing fines. A regional inspector can confirm whether reuse of materials is permitted after designation, ensuring you follow proper protocols and avoid costly mistakes.
General Demolition Waste Has Approved Pathways
General demolition waste like concrete, brick, and rubble that contains no hazardous components can go to transfer stations, but verify that your chosen facility accepts your specific material type and review their rates beforehand. Seattle’s Solid Waste Utility maintains a list of approved facilities, and you can reach them at 206-684-7665 or SP**************@*****le.gov for location details and current pricing.
Final Thoughts
Renovation debris disposal doesn’t have to drain your budget or create logistical nightmares. The key is planning ahead, separating your waste streams, and choosing the right container size for your specific project. When you establish five distinct waste streams on-site from day one, you capture real savings through recycling rebates, avoided contamination fees, and lower tipping costs.
Professional dumpster rental removes the logistics burden entirely. We at Dumpster Solutions NW handle delivery, hauling, and responsible disposal so you can focus on your renovation rather than waste management headaches. Our transparent, flat-rate pricing means no hidden fees or surprise charges, and we deliver quickly-often on the same or next day (with 10, 20, 30, and 40-yard dumpsters to fit any project size).
Contact us at 877-814-9748 or order online to get a size recommendation based on your project type and debris profile. Tell us what you’re renovating, and we’ll match you with the right container and schedule delivery around your timeline.
Disclaimer: The information provided in this blog is for general informational purposes only and does not constitute legal, financial, or insurance advice. Coverage options, terms, and availability may vary. Please consult with a licensed professional for advice specific to your situation