
Renovation projects generate massive amounts of waste, and most homeowners underestimate how much space they’ll need. At Dumpster Solutions NW, we’ve helped thousands of customers across Washington State handle their renovation debris disposal efficiently.
The difference between a smooth cleanup and a chaotic one comes down to planning. This guide walks you through sorting waste responsibly, finding the right dumpster size, and keeping costs down.
Planning Your Renovation Debris Disposal Strategy
How Much Debris Will You Actually Have?
The biggest mistake homeowners make is guessing their debris volume instead of measuring it. Most underestimate by 30 to 50 percent, which means they rent a dumpster that fills up halfway through the project. Walk through the renovation space and categorize what’s coming out. A kitchen remodel produces different debris than a bathroom gut or a full attic cleanout. Drywall, cabinets, flooring, fixtures, and insulation weigh vastly different amounts and take up different volumes.
Heavy materials like concrete, tile, and roofing shingles compress less than lighter items like drywall scraps or insulation. Write down everything that’s being removed, then research typical volumes for similar projects in your area. If you’re removing an entire kitchen, renovation debris volume estimation shows a 12×15 kitchen generates roughly 7 cubic yards. A full bathroom demolition of 8×10 produces about 5 cubic yards. Attic cleanouts vary wildly depending on what’s stored up there, but 1 to 2 cubic yards is common. Adding these up gives you a realistic starting point rather than a wild guess.
Matching Dumpster Size to Your Actual Project
Standard dumpster sizes come in predictable increments: 10-yard, 20-yard, 30-yard, and 40-yard options. A 10-yard dumpster holds roughly what four pickup truck loads would contain and works best for single-room renovations or light debris like drywall. A 20-yard dumpster accommodates about eight pickup truck loads and handles most kitchen or bathroom remodels comfortably. A 30-yard dumpster holds around fourteen pickup truck loads and suits larger whole-home renovations or major construction cleanups. A 40-yard dumpster, holding roughly sixteen pickup truck loads, is designed for substantial new construction or multi-room projects.
The key is avoiding both extremes: an undersized dumpster forces you to rent twice and pay double, while an oversized one wastes money on unused space. When you contact a rental company, provide the scope of work-not just the room type but the actual materials being removed. Rental companies can then recommend the size that fits your specific project, preventing overfilling fees or wasted capacity.
Timing Pickups to Keep Your Site Moving
Most renovation projects happen in phases, and your debris removal should match that rhythm. Foundation work, framing, rough-ins, and finish work each produce different types and volumes of waste. A pickup mid-project prevents your site from becoming a storage yard for old materials. If you’re demolishing first, a single early pickup might work. If you’re doing a phased renovation over several weeks, multiple pickups spread throughout make more sense.
Coordinate with your contractor to identify natural stopping points where a dumpster swap won’t disrupt workflow. Many projects benefit from an initial pickup after demolition, a second after rough-ins, and a final one after cleanup. Schedule your dumpster delivery to arrive just before debris generation peaks, not weeks early, and arrange pickup before the container overfills. This flexibility keeps your workspace organized and prevents the common situation where workers spend time moving debris around piles instead of focusing on the actual renovation. With your debris volume and pickup schedule locked in, the next step involves sorting what actually leaves your property and what stays behind for reuse or donation.
Sorting Your Renovation Waste Into the Right Streams
Set Up Your Sorting System Before Debris Piles Accumulate
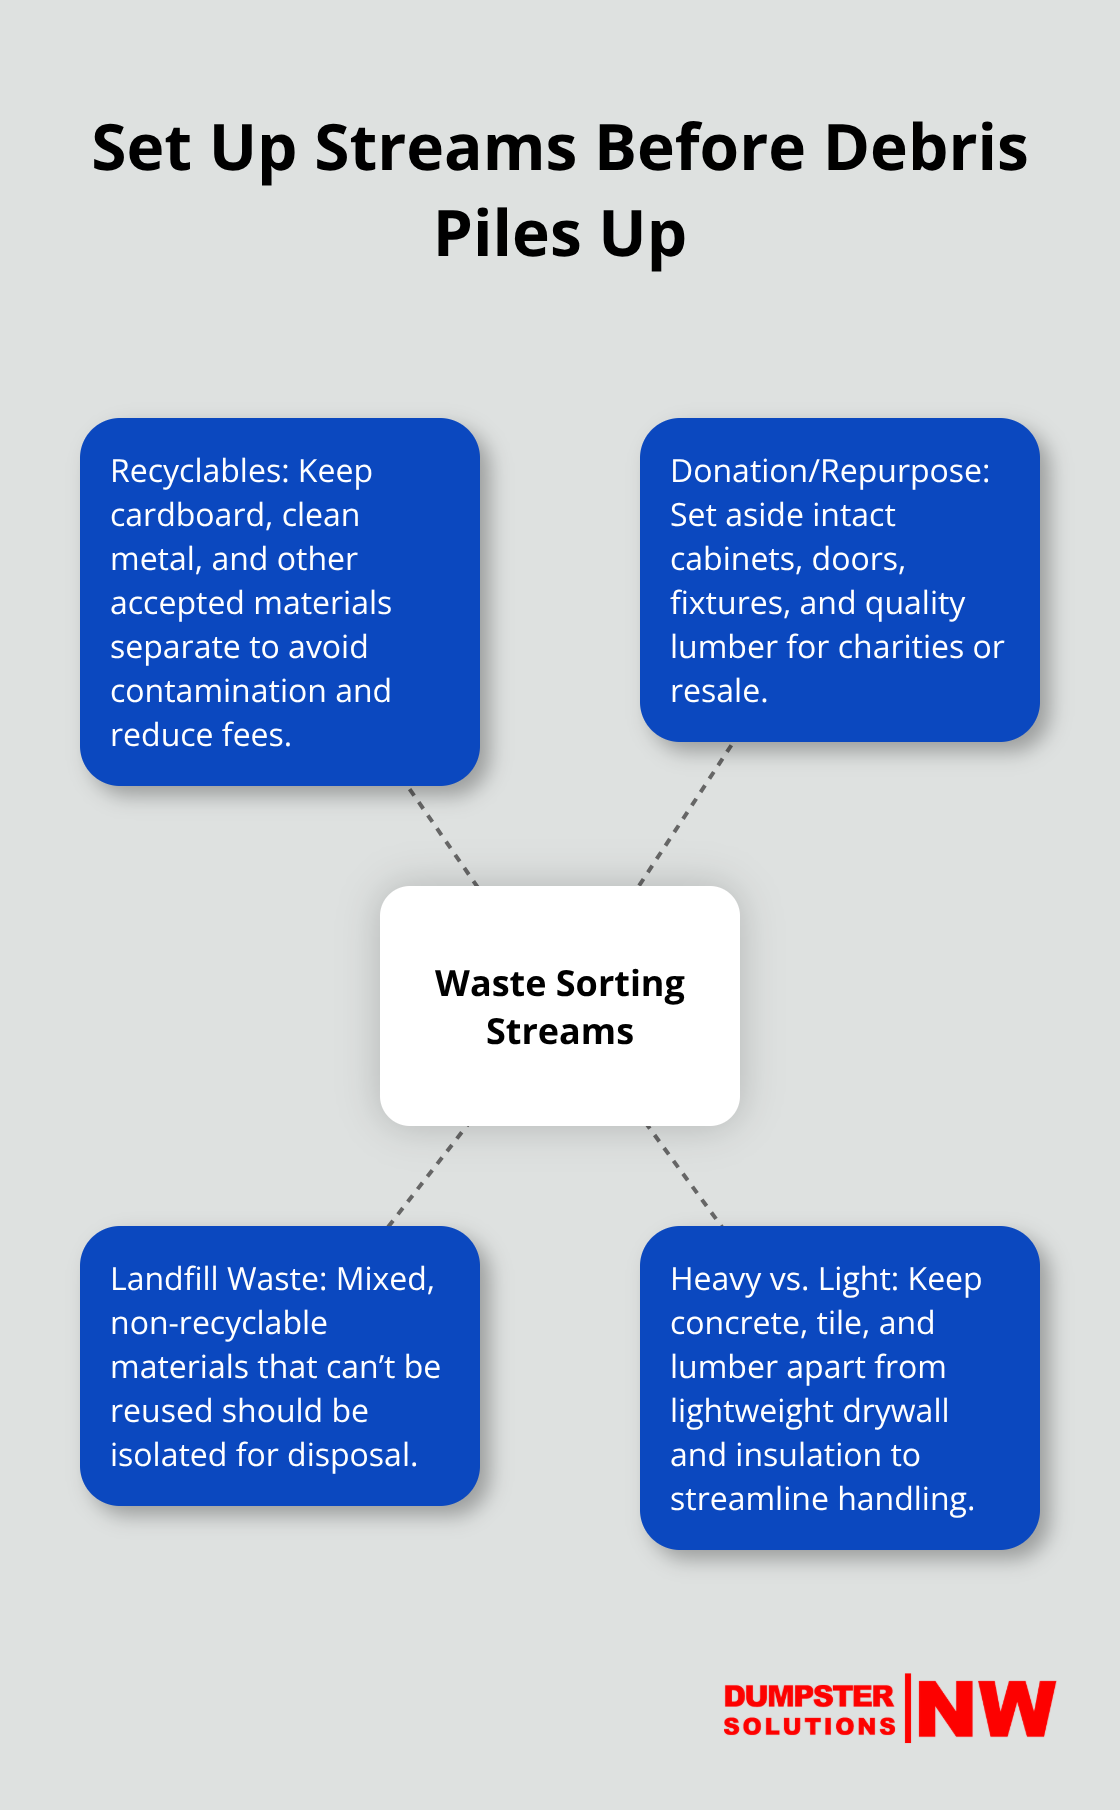
The moment demolition starts, most homeowners face a critical decision: what actually goes in the dumpster versus what gets sorted elsewhere. This choice directly impacts your disposal costs, environmental footprint, and whether you face surprise fees or missed recycling opportunities. The EPA reports that contamination from recyclable materials can ruin an entire load of recyclables and force it to landfill, which means sloppy sorting costs you money and wastes resources. You should sort materials into separate streams before materials start piling up. Use clearly labeled containers or designated areas for three distinct streams: recyclable materials, items suitable for donation or repurposing, and landfill waste. Heavy materials like concrete, metal, and dimensional lumber belong in separate piles from lightweight drywall, insulation, and mixed debris.
Maximize Recycling Value from Common Renovation Materials
Cardboard, aluminum, and steel are reliable recyclers in virtually every Washington community and should never touch a general dumpster. Aluminum deserves special attention because it recycles indefinitely with minimal quality loss, and recycling aluminum saves roughly 95 percent of the energy required to produce virgin aluminum, according to the U.S. Department of Energy. Glass is 100 percent recyclable endlessly, yet massive volumes still end up in landfills annually. Paper and cardboard recycling saves approximately 7,000 gallons of water per ton recycled, according to the EPA. Contact your local municipality before the project starts to confirm which materials your area accepts and whether pickup is available for larger quantities. This step prevents you from sorting materials that your community cannot process.
Handle Hazardous Materials With Proper Separation and Storage
Hazardous materials demand completely separate handling and absolutely cannot enter a standard dumpster. Paints, solvents, stains, asbestos, certain cleaning chemicals, and old insulation containing potential contaminants fall into this category and require special disposal programs. Most Washington communities offer designated hazardous waste collection days or drop-off locations run by your local waste authority. You should store hazardous materials in clearly labeled, sealed containers away from your main work area, and never mix different types together. This separation protects your workers, your property, and ensures compliance with local regulations.
Identify and Separate Usable Items for Donation or Resale
Usable items like intact cabinetry, doors, fixtures, flooring, trim, and quality wood framing have genuine value and should be separated immediately. Many homeowners overlook this, but donating salvageable materials to local charities, community reuse centers, or habitat restoration organizations keeps perfectly good items out of landfills while supporting your community. Some materials generate actual resale value through salvage yards or specialty retailers, so asking your contractor whether they salvage materials before demolition can offset project costs. Professional debris removal services can streamline this entire sorting process and handle regulatory compliance, ensuring nothing hazardous contaminates recyclable streams and nothing reusable accidentally lands in the dumpster.
Move Forward With Confidence Into Cost Management
Your sorting discipline directly determines what you pay for disposal. Materials you separate correctly avoid contamination fees, and items you donate or resale reduce the total volume heading to the dumpster. With your waste streams organized and your hazardous materials isolated, you’re ready to tackle the financial side of your project and understand exactly what drives disposal costs.
Cost-Effective Disposal Solutions for Your Project
Flat-Rate Pricing Eliminates Budget Surprises
Disposal pricing breaks down into two competing models, and understanding which one fits your project saves hundreds of dollars. Flat-rate pricing means you pay one price upfront regardless of what lands in the dumpster, while volume-based pricing charges you per ton or per additional pickup. Flat-rate pricing wins for renovation projects because it eliminates surprises and lets you budget accurately from day one. Volume-based pricing creates hidden costs when contractors or homeowners underestimate debris weight or composition, leading to overage charges that can spike your final bill by 20 to 40 percent.
Material Weight Directly Impacts Your Final Bill
The material composition inside your dumpster directly affects final disposal costs at the facility level. Heavy materials like concrete, tile, and roofing shingles cost more to process than lightweight drywall or cardboard because landfill and processing fees scale with tonnage. A 20-yard dumpster filled with concrete and brick might weigh 8 to 10 tons, while the same volume of mixed renovation debris averages 4 to 6 tons. This weight difference translates to real money when facilities charge per ton. Recyclable materials separated before disposal eliminate tipping fees entirely and sometimes generate revenue through scrap metal or cardboard sales.
According to RoadRunner waste management data, recycling typically costs around 30 dollars per ton compared to about 50 dollars per ton for landfill disposal and 65 to 75 dollars per ton for incineration. This 20 to 45 dollar per ton spread means that sorting just 2 tons of metal or cardboard saves you 40 to 90 dollars in tipping fees alone.
Local Facilities Accept Different Materials at Different Prices
Your local disposal landscape in Washington State includes county-run facilities, private landfills, and specialized recycling centers, each with different material acceptance policies and pricing structures. King County operates several transfer stations accepting renovation debris, and most communities from Seattle to Tacoma have municipal hazardous waste collection days where you can drop off paints, stains, and solvents for free or minimal cost. Private recycling centers throughout the Puget Sound region accept cardboard, metal, and clean wood at no charge and sometimes pay for aluminum and copper.
Before your project starts, contact your city or county waste authority to identify which facilities accept your specific debris types and whether they charge tipping fees. Some materials like treated wood or contaminated drywall face restrictions or higher fees, so confirming acceptance prevents wasted trips and unexpected charges.
Professional Services Handle Facility Coordination
Professional debris removal services can handle facility coordination and route materials to the right processors, but this convenience adds cost. For homeowners managing their own disposal, separating materials yourself and delivering to appropriate facilities costs nothing but requires time and multiple trips. For contractors running multiple projects, the time investment rarely justifies the savings. Dumpster Solutions NW handles the logistics of responsible disposal for you, ensuring materials reach appropriate facilities and recyclables get processed correctly, so you focus on finishing your renovation rather than managing waste streams.
Final Thoughts
Renovation debris disposal tips boil down to three core practices: measure your volume accurately before renting, sort materials into separate streams immediately, and understand what drives your final costs. These steps transform a chaotic cleanup into a predictable, manageable process that protects your budget and your community’s environment. Planning ahead eliminates the stress that catches most homeowners off guard.
When you assess debris volume realistically, match your dumpster size to actual project scope, and schedule pickups around your renovation phases, you avoid overfilling fees, wasted rental days, and materials piling up on your property. Separating recyclables, identifying hazardous waste, and isolating items for donation reduces your total disposal volume and often eliminates tipping fees entirely. The math is straightforward: a 20-yard dumpster filled with sorted, lightweight debris costs significantly less to process than one packed with mixed, heavy materials.
Contact your local waste authority to confirm material acceptance policies, identify recycling and hazardous waste drop-off locations, and understand any local disposal regulations. Then reach out to Dumpster Solutions NW to get a quote and schedule your dumpster delivery. The difference between a smooth renovation and a stressful one often comes down to waste management, and getting that right from the beginning sets the tone for your entire project.
Disclaimer: The information provided in this blog is for general informational purposes only and does not constitute legal, financial, or insurance advice. Coverage options, terms, and availability may vary. Please consult with a licensed professional for advice specific to your situation